 John M. Wargo
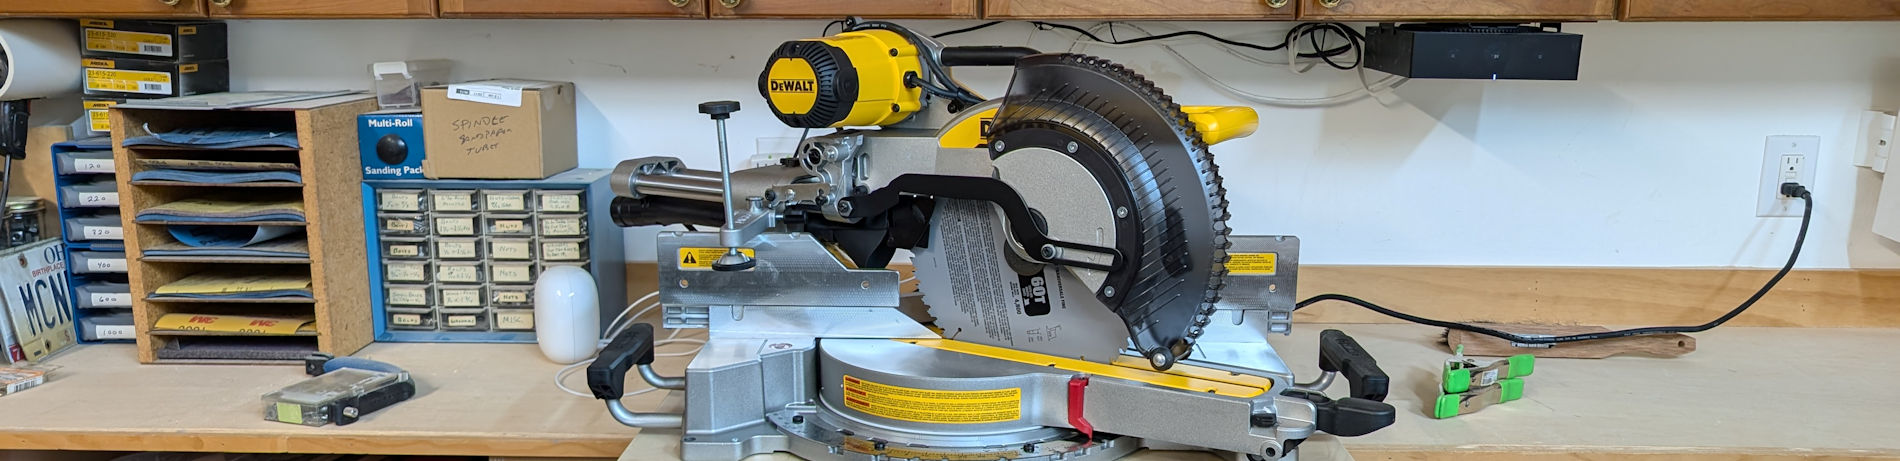
Oval Router Template

Posted: Sunday, July 14, 2024 at 08:41 AM | Categories: Woodworking, 3D Printing
Links On This Page
Over the US 4th of July holiday, we were hanging around with family when my sister in law mentioned that she wanted to get an Owl House for her back yard in order to attract an owl to live in her yard. I'd never made an Owl House before, so I quickly volunteered to make one for her.
After a little bit of research, I learned that the Cornell Lab of Ornithology publishes a catalog of birdhouse plans at Nest Watch: All About Birdhouses. All you have to do is select the bird you want as backyard company, provide an email address, then download the plans.
My sister in law wanted a house for an Eastern Screech Owl, so I quickly downloaded the plans and got to work.
One of the requirements for the house is an oval shaped hole on the front of the house for the bird to use to enter and exit the house. With that requirement in mind, I started thinking about how I'd cut that oval.
I use the Router in my shop a lot and because of that I had a set of Rockler Circle/Grommet Templates that I can use to cut a circular opening on the house. The plans specifically call out that you can use a circle instead of an oval, but I wanted to do this right and figure out how to successfully (and that means do it so it doesn't look like crap) cut an oval hole on the birdhouse.
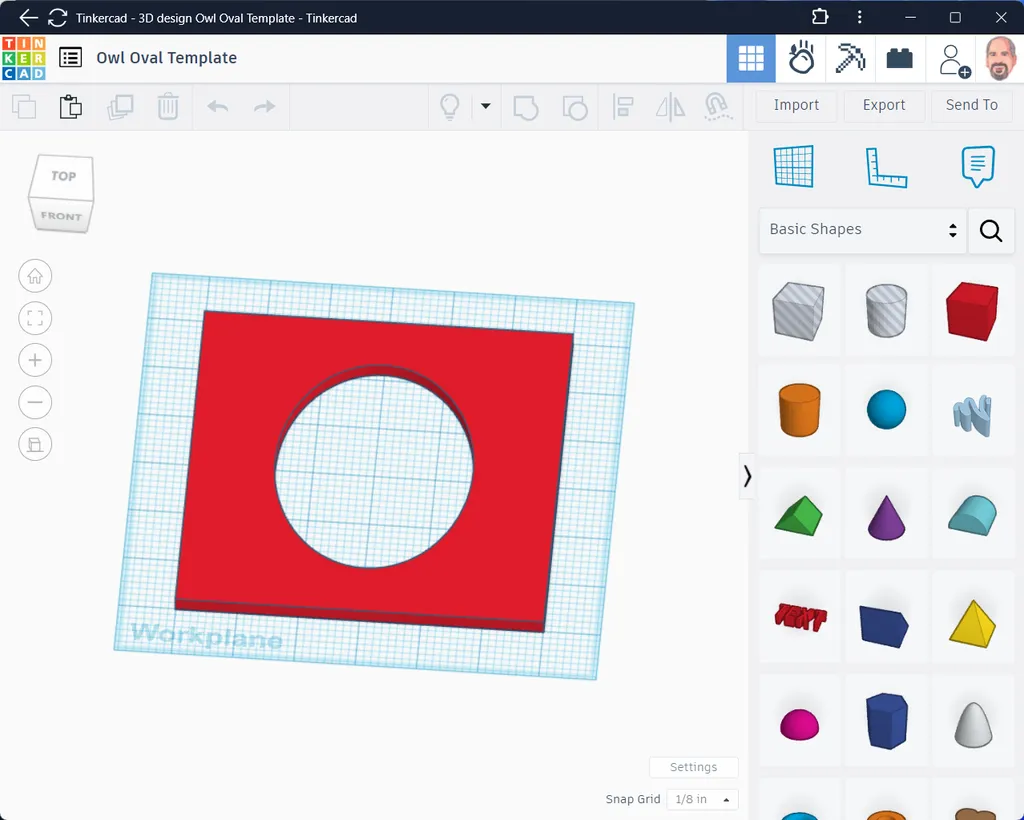
I have a 3D printer here, so I quickly opened TinkerCad and cranked out an oval piece to the dimensions I needed. With that in hand, I knew I could trace the hole on the front of the birdhouse using the oval piece I just made, then cut it out using a jigsaw. That would work, but it's hard to stay in the lines with a jigsaw. Since I wanted to impress my sister in law with my woodworking skills, I abandoned that approach.
That's when I realized that I could make a Router template to cut the oval just like those circle templates I mentioned earlier. I quickly reopened my oval project in TinkerCAD and inverted it into a template I can use with my router:
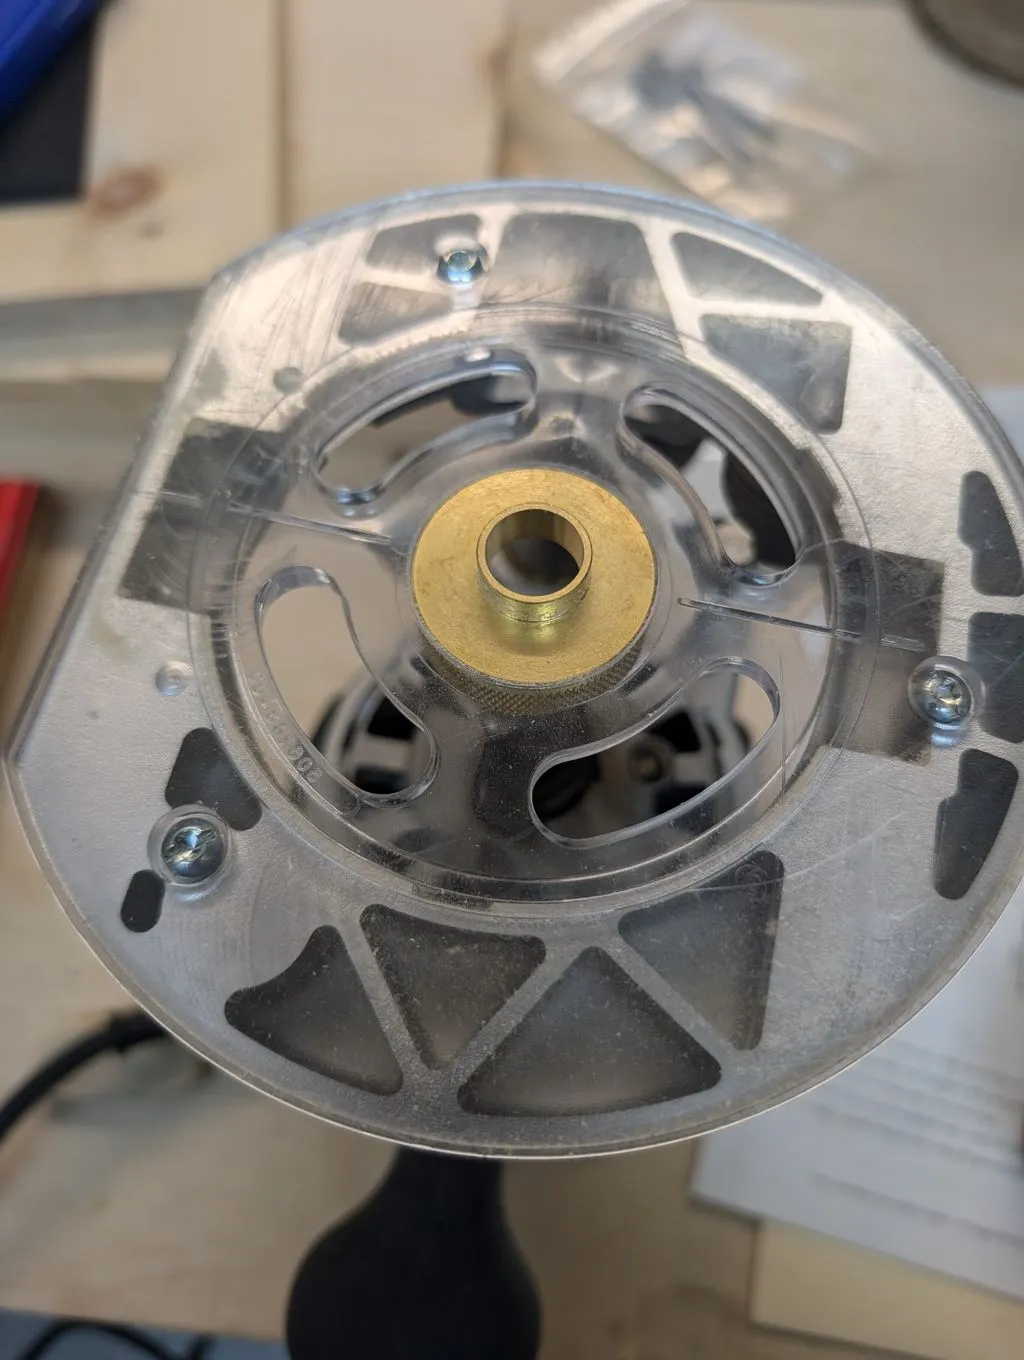
Now, the original oval piece was 3x4 inches, but when working with a router, I had to take into account the thickness of the router bushing (shown below) used to hold the router and bit within the template. So I measured the distance from the outside of the bushing (shown below) to the outside edge of the straight router bit (not shown, sorry) I used with the template. I used the Short Shank Guide Bushing and Nut, 5/8" for this project (because that's what I had in my shop).
That distance is 1/8th of an inch, so I added that to all sides of my oval in the template, making the templated oval 3.25" by 4.25".
I made the overall piece 5" by 5" and printed it to my printer.
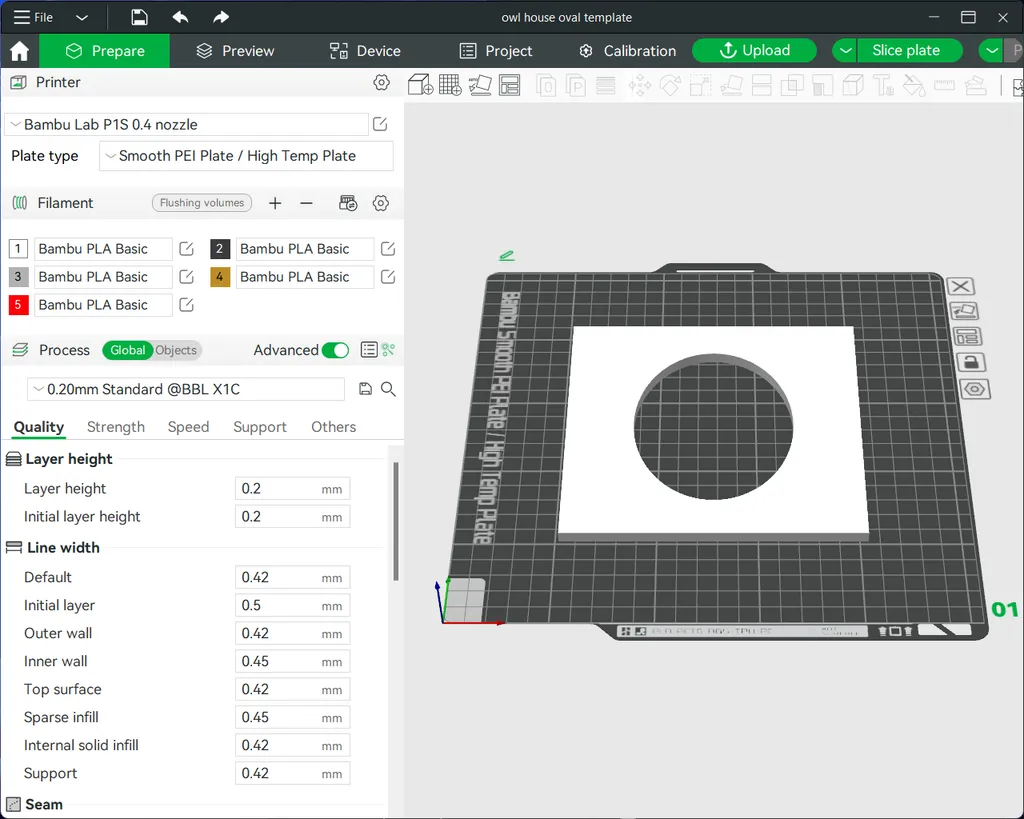
The print worked like a champ, so I took it down to my workshop to put it to work.
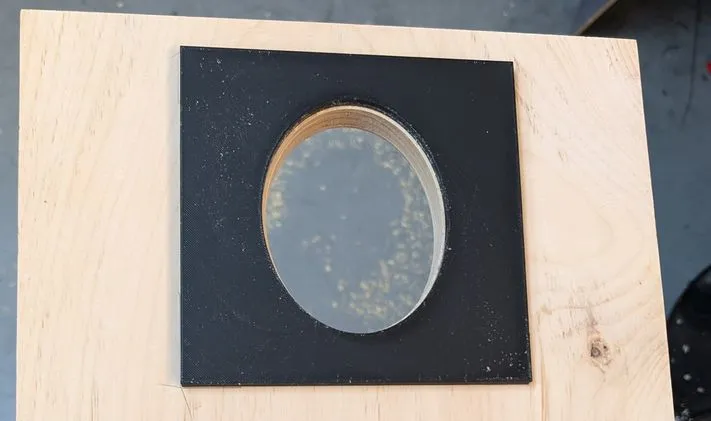
The following image was taken after I completed cutting the oval, but it shows how I setup the template before I started cutting. I used two-sided woodworking tape to hole the template in place on the owl house front panel. Using a plunge router and a small template, you don't have any room to clamp down the template to keep it from moving during routing. The tape kept in place and I was able to cut the hole successfully and cleanly.
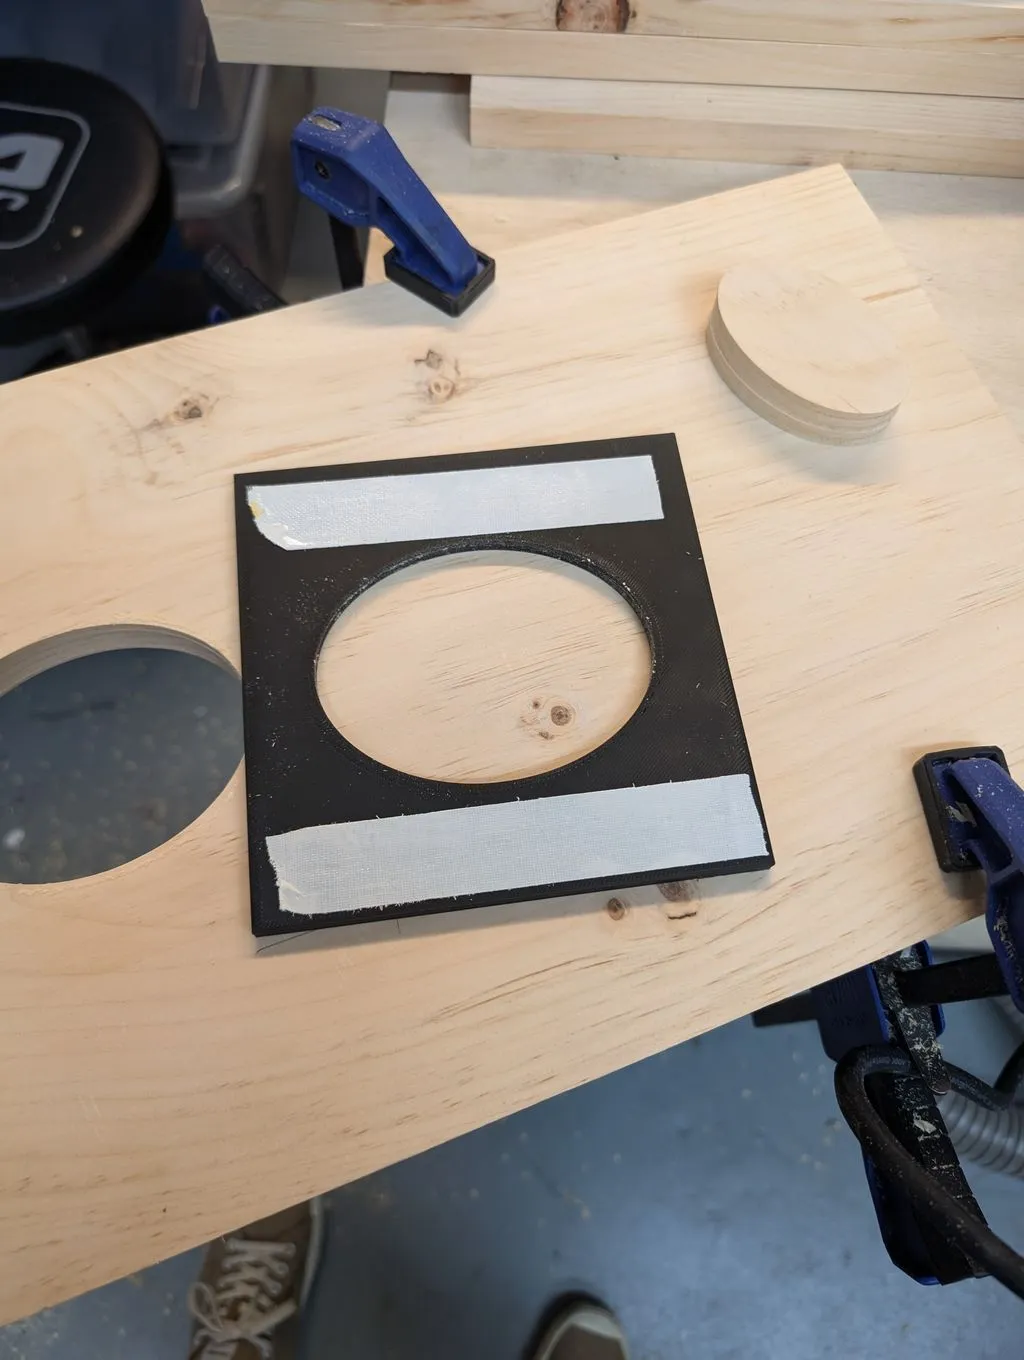
When I routed the hole, I used clamps to secure the cutting area off of the edge of my assembly table - so I wouldn't cut my assembly table top.
The only problem I encountered was that I didn't make the template large enough. I should have given myself three inches in all dimensions as a solid base for the router.
I published the template on Thingverse; please let me know if this helps you.
Next Post: Cloned Tool Shopping
Previous Post: Google Functions Deploy Module
Header image: John M. Wargo