 John M. Wargo
Drilling Holes Consistently Across Multiple Pieces

Posted: Sunday, July 13, 2025 at 01:46 PM | Categories: Woodworking
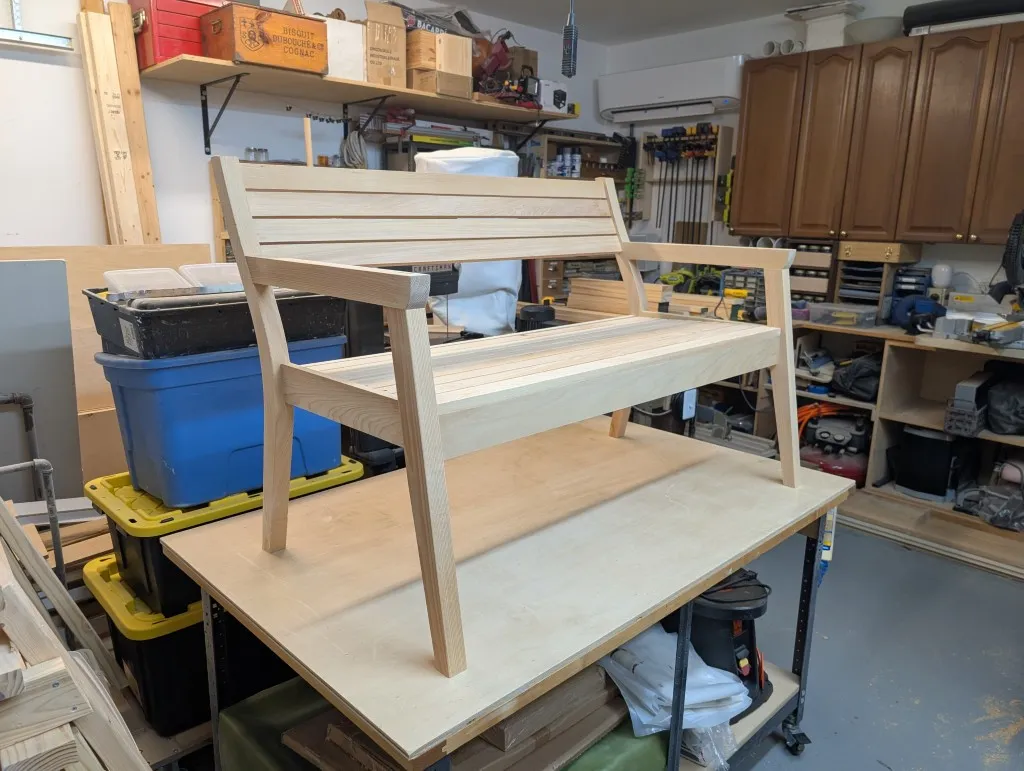
Last week, I competed construction of the Rockler Rockler Modern Patio Love Seat Plan with Templates project. We have a couple of iron chairs next to our garage that we use all the time, and I was looking to replace them with something more comfortable and much better looking. Here's the completed project; I used Cypress wood for my version of it:
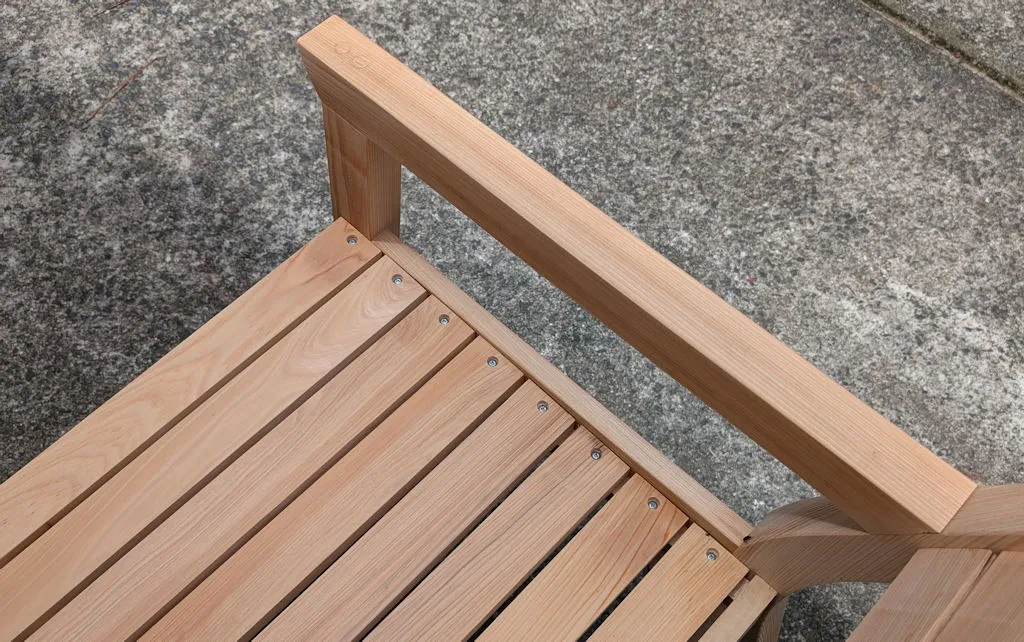
One of the features of the seat is a row of 8 slats lined up as the base. The plans called for countersinking screws holding the slats onto supports hidden underneath and I wanted to ensure I did a good job on this since the screws are visible from the top of the seat; I wanted them all to align beautifully!
Here's a close-up of the resulting holes I wanted to make (and eventually did). All lined up and beautiful.
The easiest way to do this is to grab a cordless drill or use a drill press to drill the countersink holes. With this approach, you can try to align your holes across multiple boards (both ends, of course), but your chances of doing that successfully are really small.
Another option is to pull out a ruler and pencil and mark up the ends of each board with the exact location of each countersink hole. Experience told me this would be a slightly better approach, but still not the best because it's not always easy to consistently put the countersink bit down on the mark every time (in this case 16 times - 8 boards with a hole on each end of the board).
Leaving Nothing to Chance
One of the things I learned a long time ago about woodworking is that successful woodworkers spend a lot of their time planning and setting up their actions (drill, cut, stain, whatever) so they can't make mistakes. They leave nothing to chance. The jig I explain a little later is an example of this approach.
I realized that there was no way for me to accurately drill 16 countersink holes in these 8 slats by hand without making a bunch of mistakes. I decided to use my 3D printer to create a jig that would hold each slat in place on my drill press so I could drill the countersink in the exact same place on each end of each board.
So I fired up Tinkercad and built a simple block with an opening that was exactly as wide and tall as the slat with some extra space around it for strength. Here's what it looks like in Tinkercad:
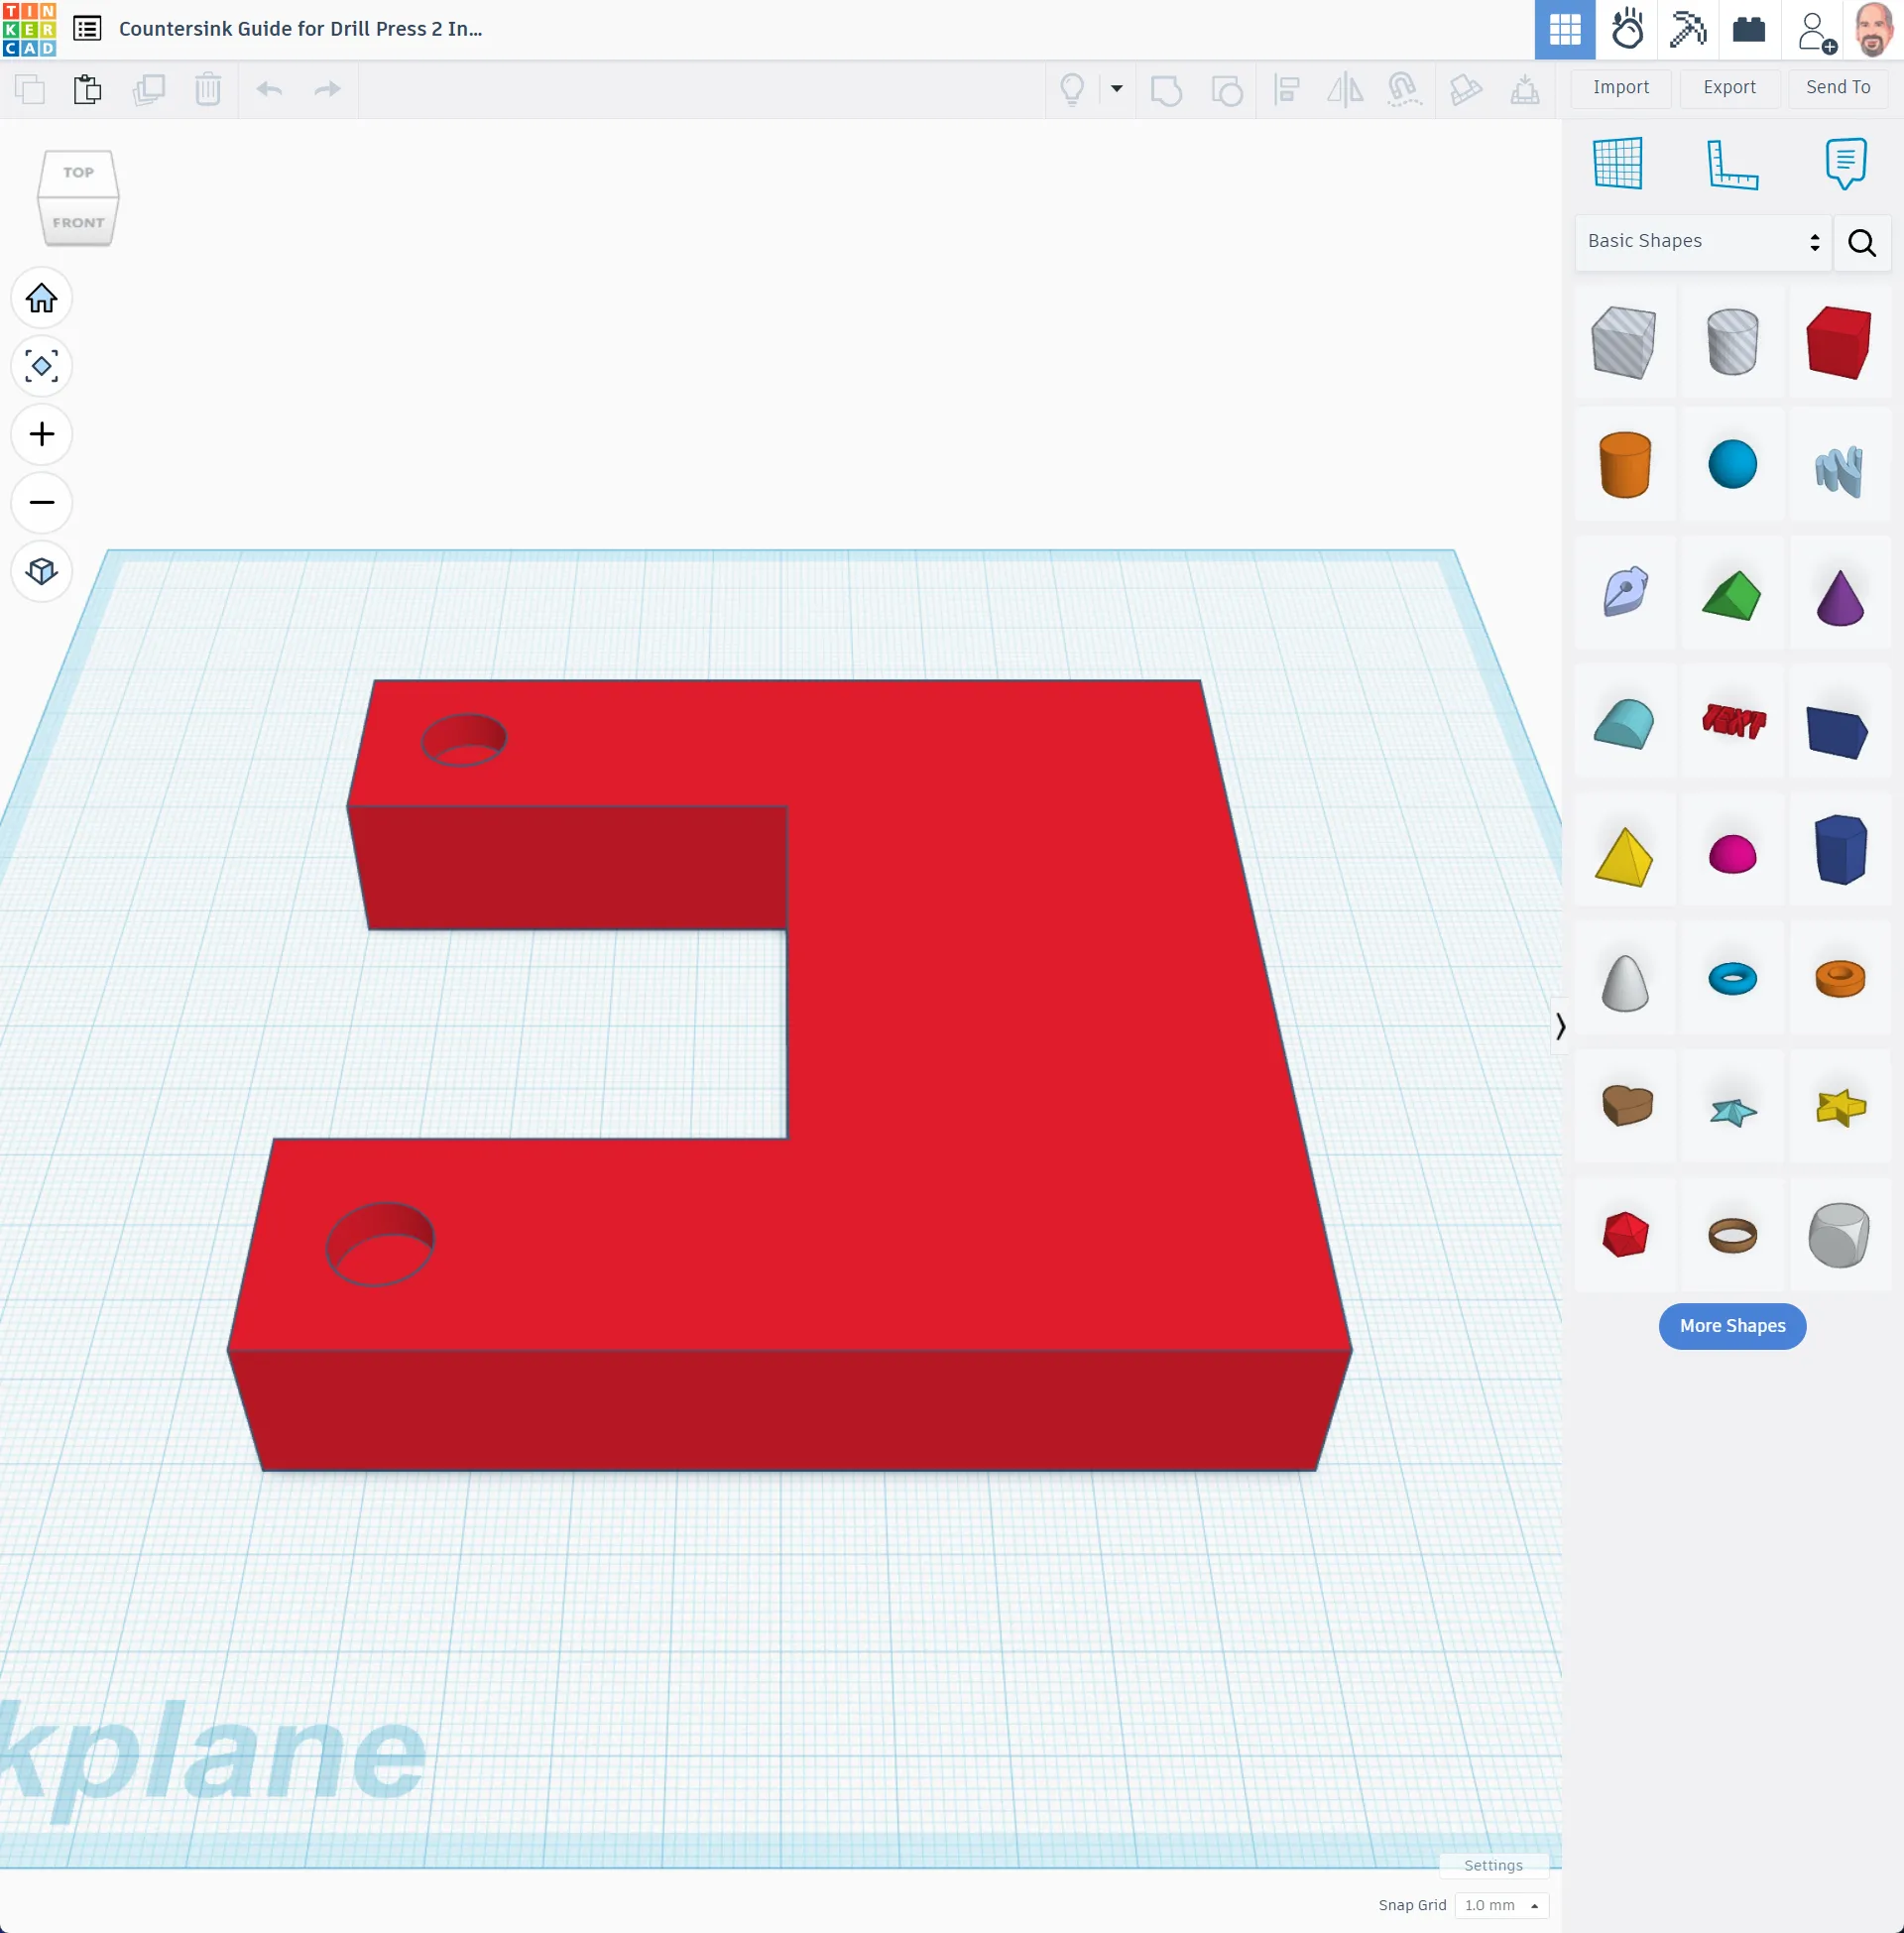
I knew I'd use my drill press instead of a handheld drill and the table for my drill press was cast iron, so I added holes to mount some rare earth magnets to the jig to hold it in place on the drill press. I ended up not having any magnets lying around to use for this purpose, so I ended up using two-sided woodworker's tape to hold the jig to the drill press while I drilled the holes.
Here's an image of the jig in action.
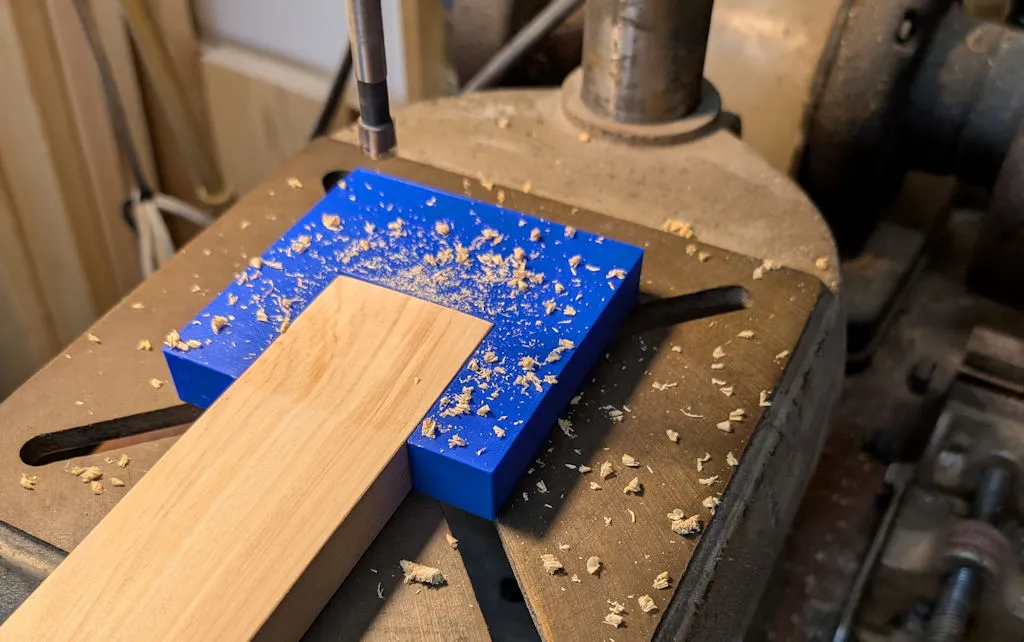
I didn't use a true countersink bit for this project. For mounting the slats, I used pan head screws, so I used a 3/8" forstner bit to drill the countersink - the forstner bit gives the countersink a flat bottom. Next, I used a traditional bit to drill a pilot hole through the remainder of the slat thickness.
You can find my Tinkercad project at Countersink Guide for Drill Press 2 Inch; I hope you find this helpful.
Next Post: Spacing Slats Evenly
Previous Post: Setting Windows File and Directory Timestamps to Now
Header image: John M. Wargo