 John M. Wargo
Mounting Breadboard-friendly NeoPixels

Posted: Sunday, March 16, 2025 at 06:11 AM | Categories: Arduino, ESP32, Internet of Things (IoT), Project Builds
Links On This Page
I build a lot of projects using Adafruit's NeoPixels. They dramatically simplify the process of wiring multiple LEDs into a project, requiring only three wires between each NeoPixel rather than two wires and a resistor to each LED. This article explains an issue I discovered with mounting Breadboard-friendly RGB Smart NeoPixel in a project and the solution I found for resolving it.
The Problem
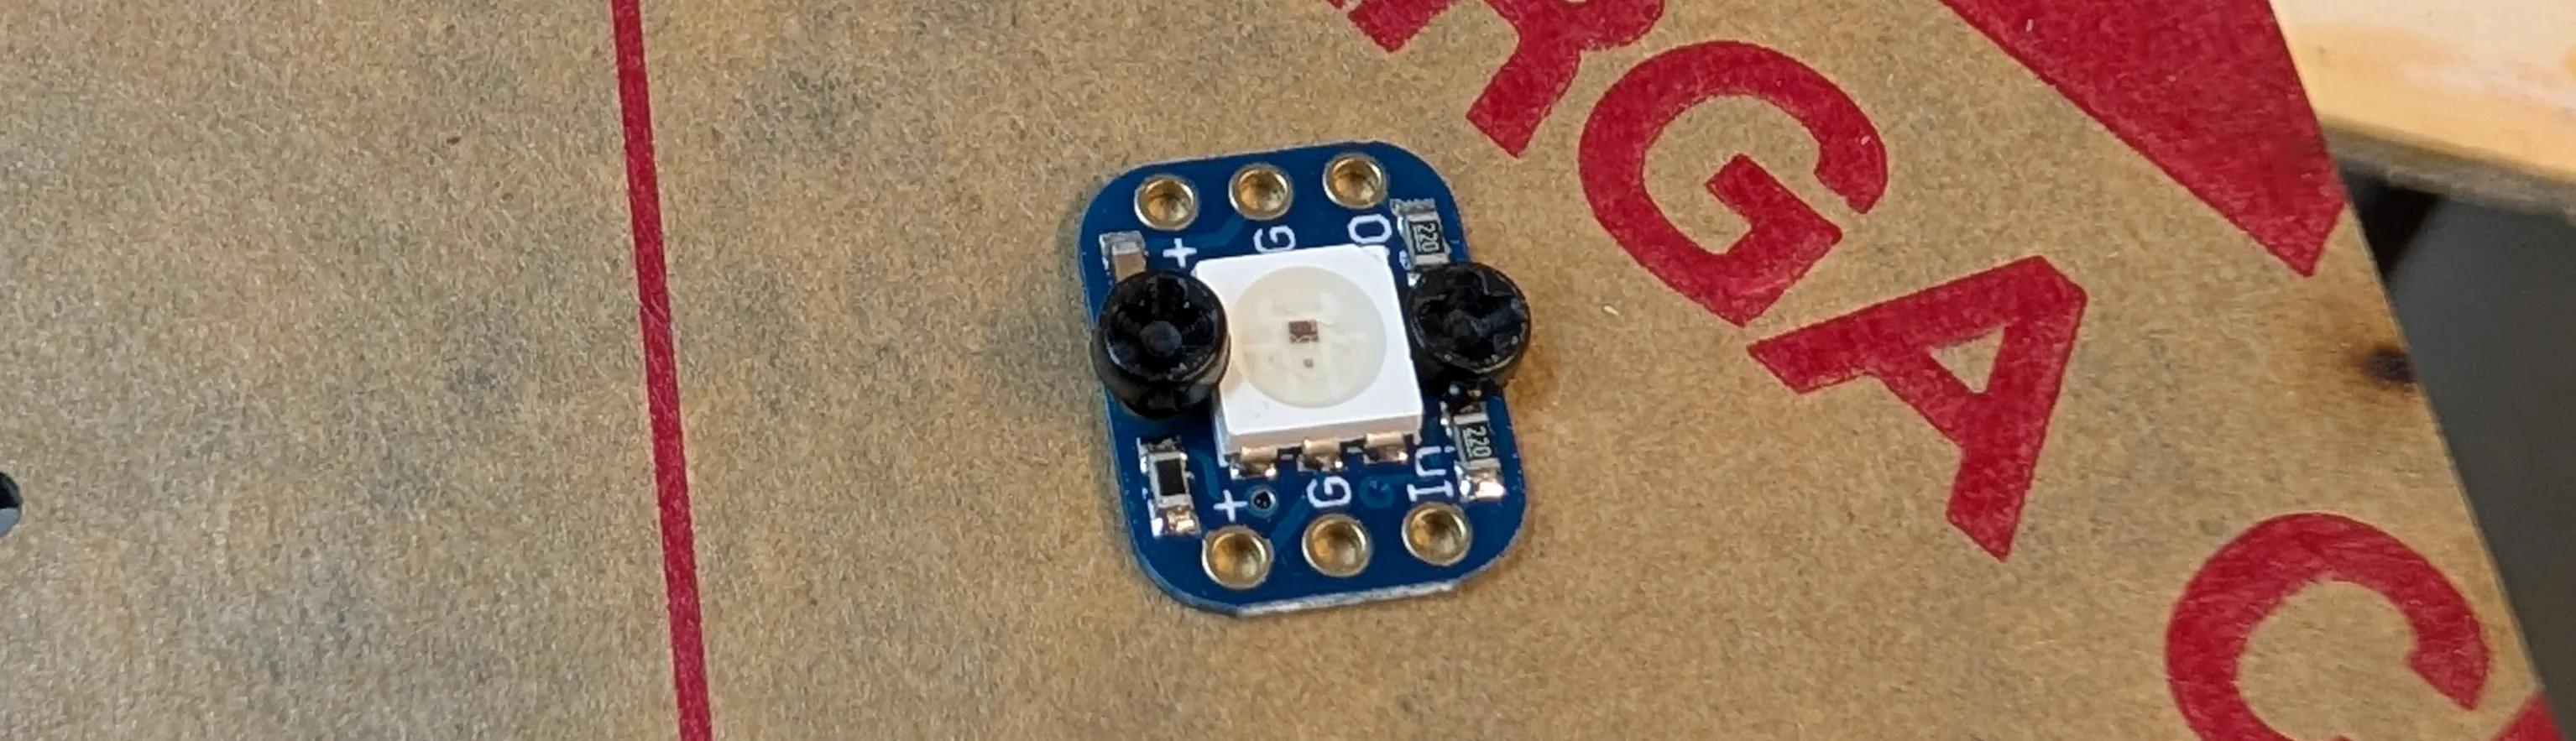
The breadboard-friendly NeoPixels (BFN) have mounting holes, but it seems to me that the holes are designed for sewable projects (where you want to sew a NeoPixel to a piece of clothing). Here, let me show you.
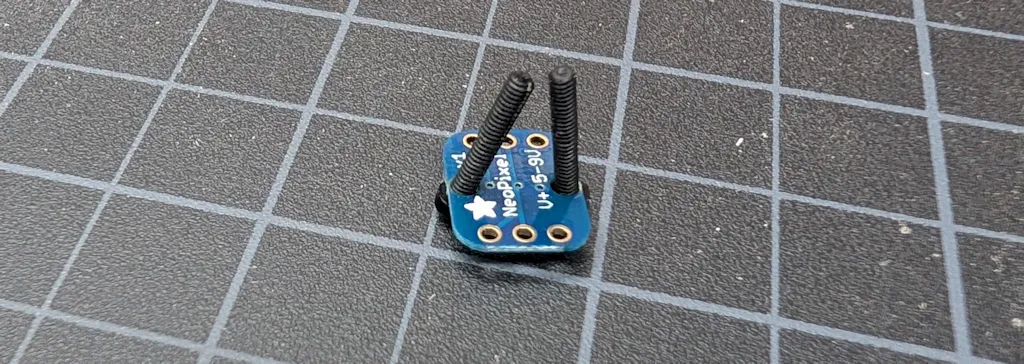
The BFN has two of what looks like mounting holes you can use with a bolt or a screw to mount the NeoPixel on a board. However, when you insert bolts into the holes from the top, due to the component orientation on the top of the board, the bolt heads won't sit flat on the top of the board. This makes it impossible to mount the device using bolts.
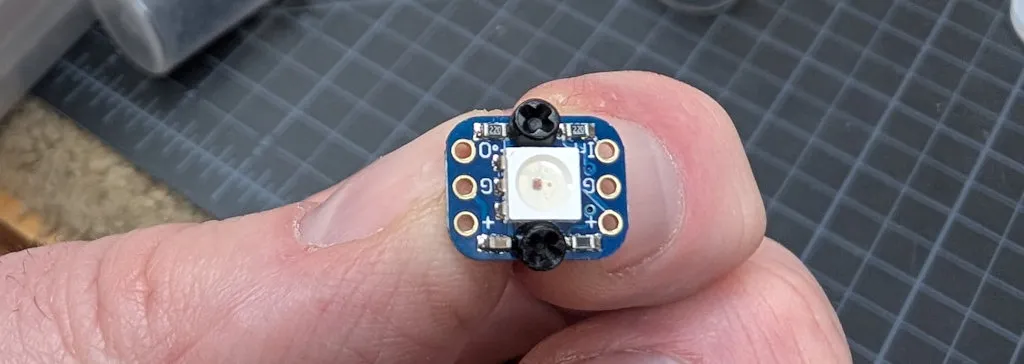
Flipping the board over, you can see the issue. The NeoPixel LED sides bump right up against the bolt holes, causing the bolts to skew as shown in the previous image.
The Project
Right now I'm working on a wall mounted version of the Word Clock NeoMatrix Wi-Fi Desktop. As I planned for this project, I decided to use BFNs arrayed in a grid mounted on a panel. For the panel, I used black acrylic and arranged the BFN in a grid using mounting holes drilled (burned, cut, whatever) in the panel.
As soon as I tried to mount the first NeoPixel I realized my problem. If I straighten out the bolts so they'll fit in the holes on the panel, I had to rest at least one of the bolts on top of the NeoPixel LED.
That could work, but at the same time I was worried about tightening the bolt too much and crushing the NeoPixel.
I investigated a variety of options, like printing a little spacer to allow me to use the bolt but not crush the NeoPixel, but my 3D printer wouldn't print anything that small. I also investigated cutting the side off a stack of washers, but there's not enough room on the board to do that.
So frustrating.
The Solution
I invested recently in a high quality 3D printer and have been trying to learn how to use the available design tools to design stuff for my projects. I got pretty good with TinkerCad, but quickly bumped up against limitations in the tool. I decided to spend some time learning Fusion 360 since it seems pretty capable to me.
I discussed my NeoPixel mounting issue with a colleague and he offered to help me create something to solve this issue. He fired up Fusion 360 and gave me a demo of how it works then quickly threw together a NeoPixel Mount that worked perfectly for my project. Here it is.
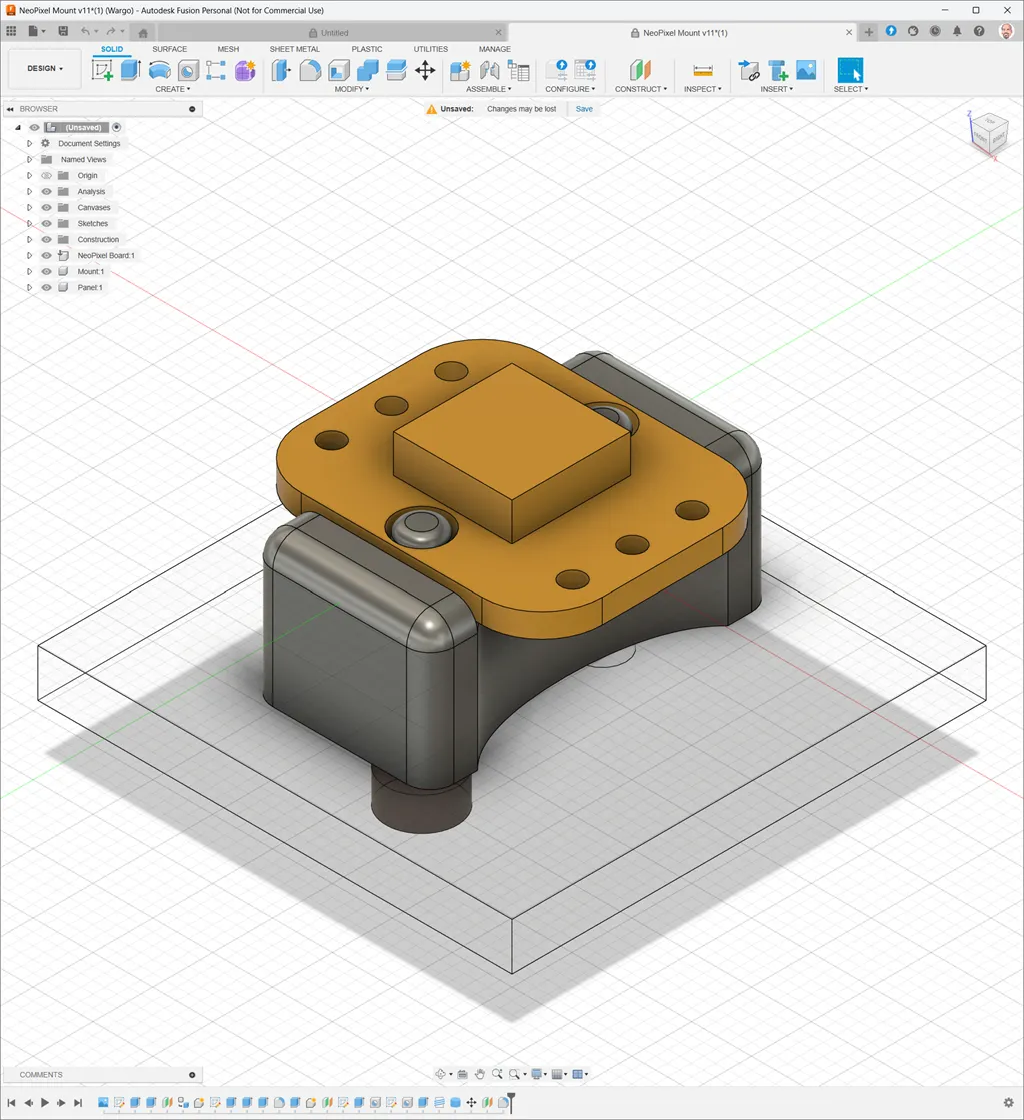
The component mounts to the panel using M2x6mm bolts (steel), then the NeoPixel sits on top. The device is really small, so there's no room to securely attach the NeoPixel to the top of the component. I'll have to use a glue gun to hold the NeoPixel in place. That works for me considering what my other options are here.
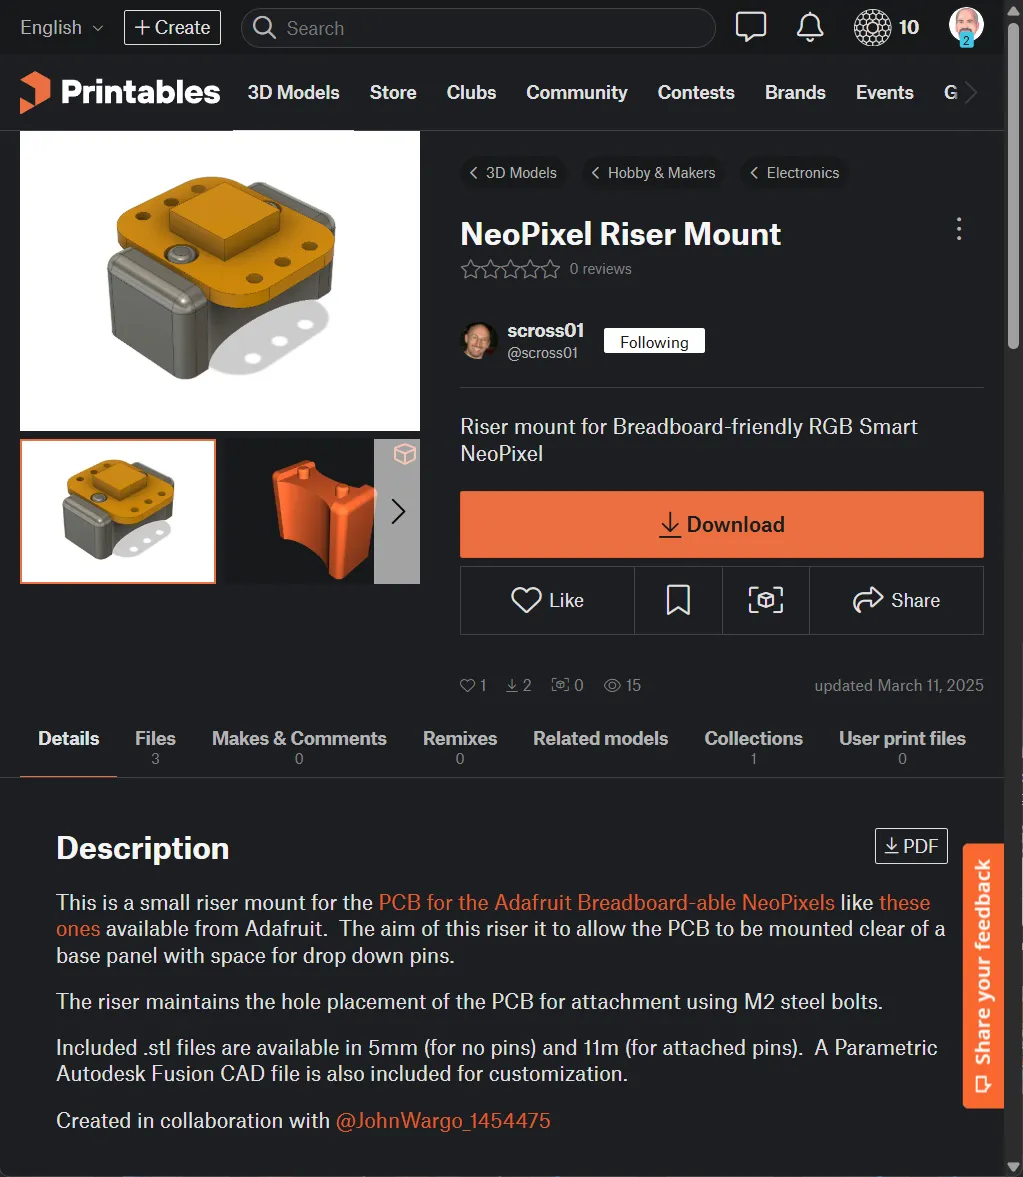
NeoPixel Riser Mount
My colleague published Neopixel Riser Mount design on Printables so you can use it in your own projects.
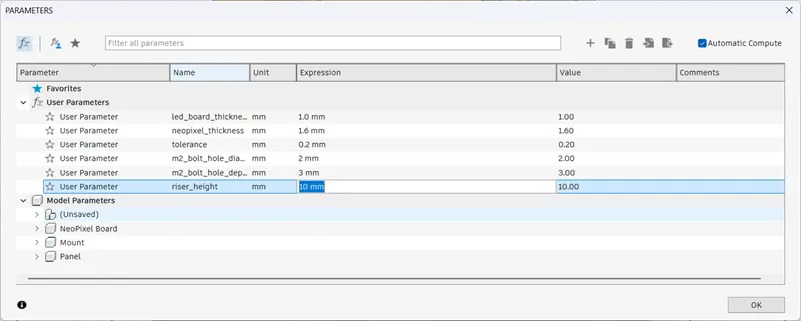
One of the cool things about Fusion 360 is that you can use it to do parametric modeling. This allows you to store dimensions as parameters in the design then tweak the values assigned to those parameters to quickly adjust the design. My colleague designed the component with a height of 5mm, but set that as a parameter in the design. So, if I decided I needed a taller mount, I could just adjust the parameter and the design would adjust accordingly. For example, here's the parameter editor dialog, allowing me to change the height from 5mm to 10mm.
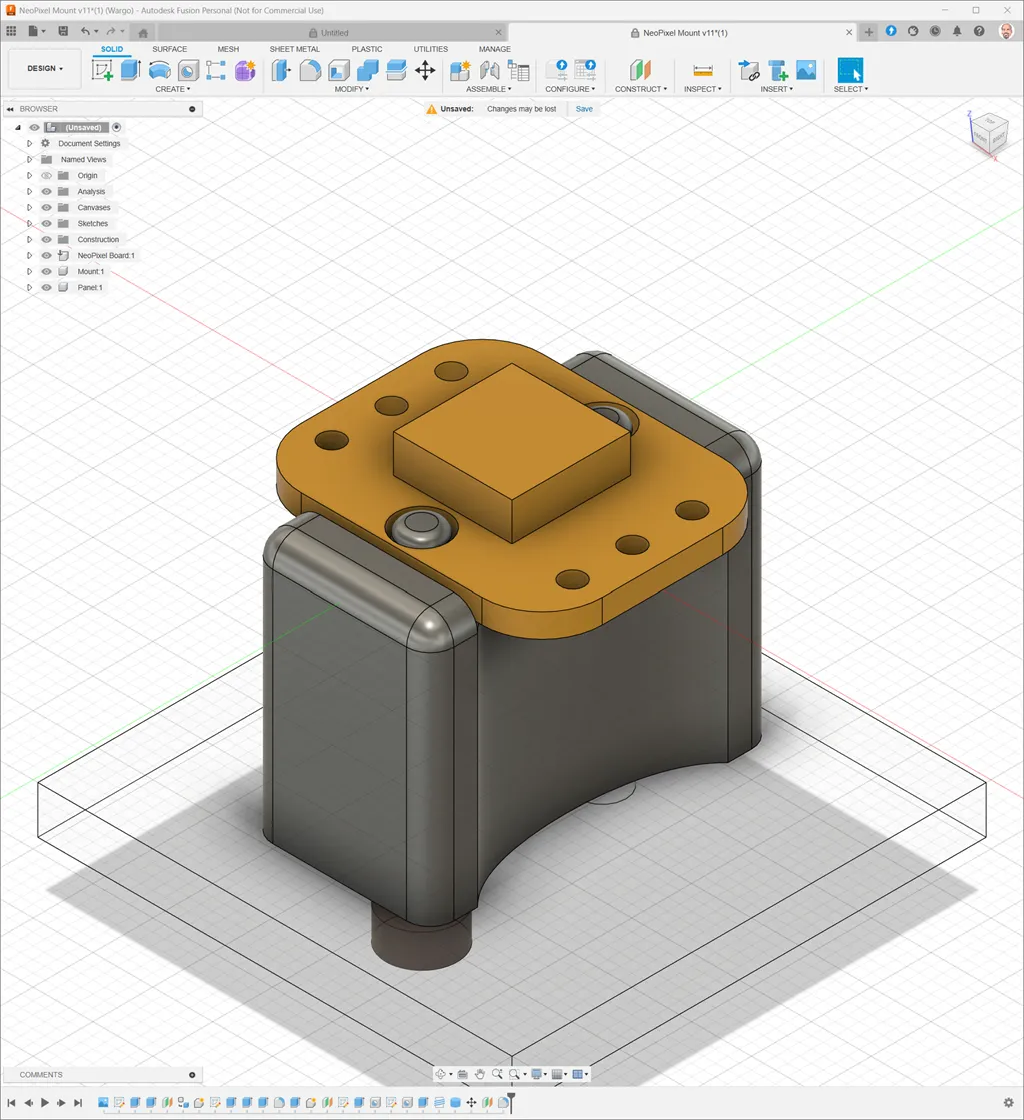
And here's the updated design at 10mm height:
Implementation
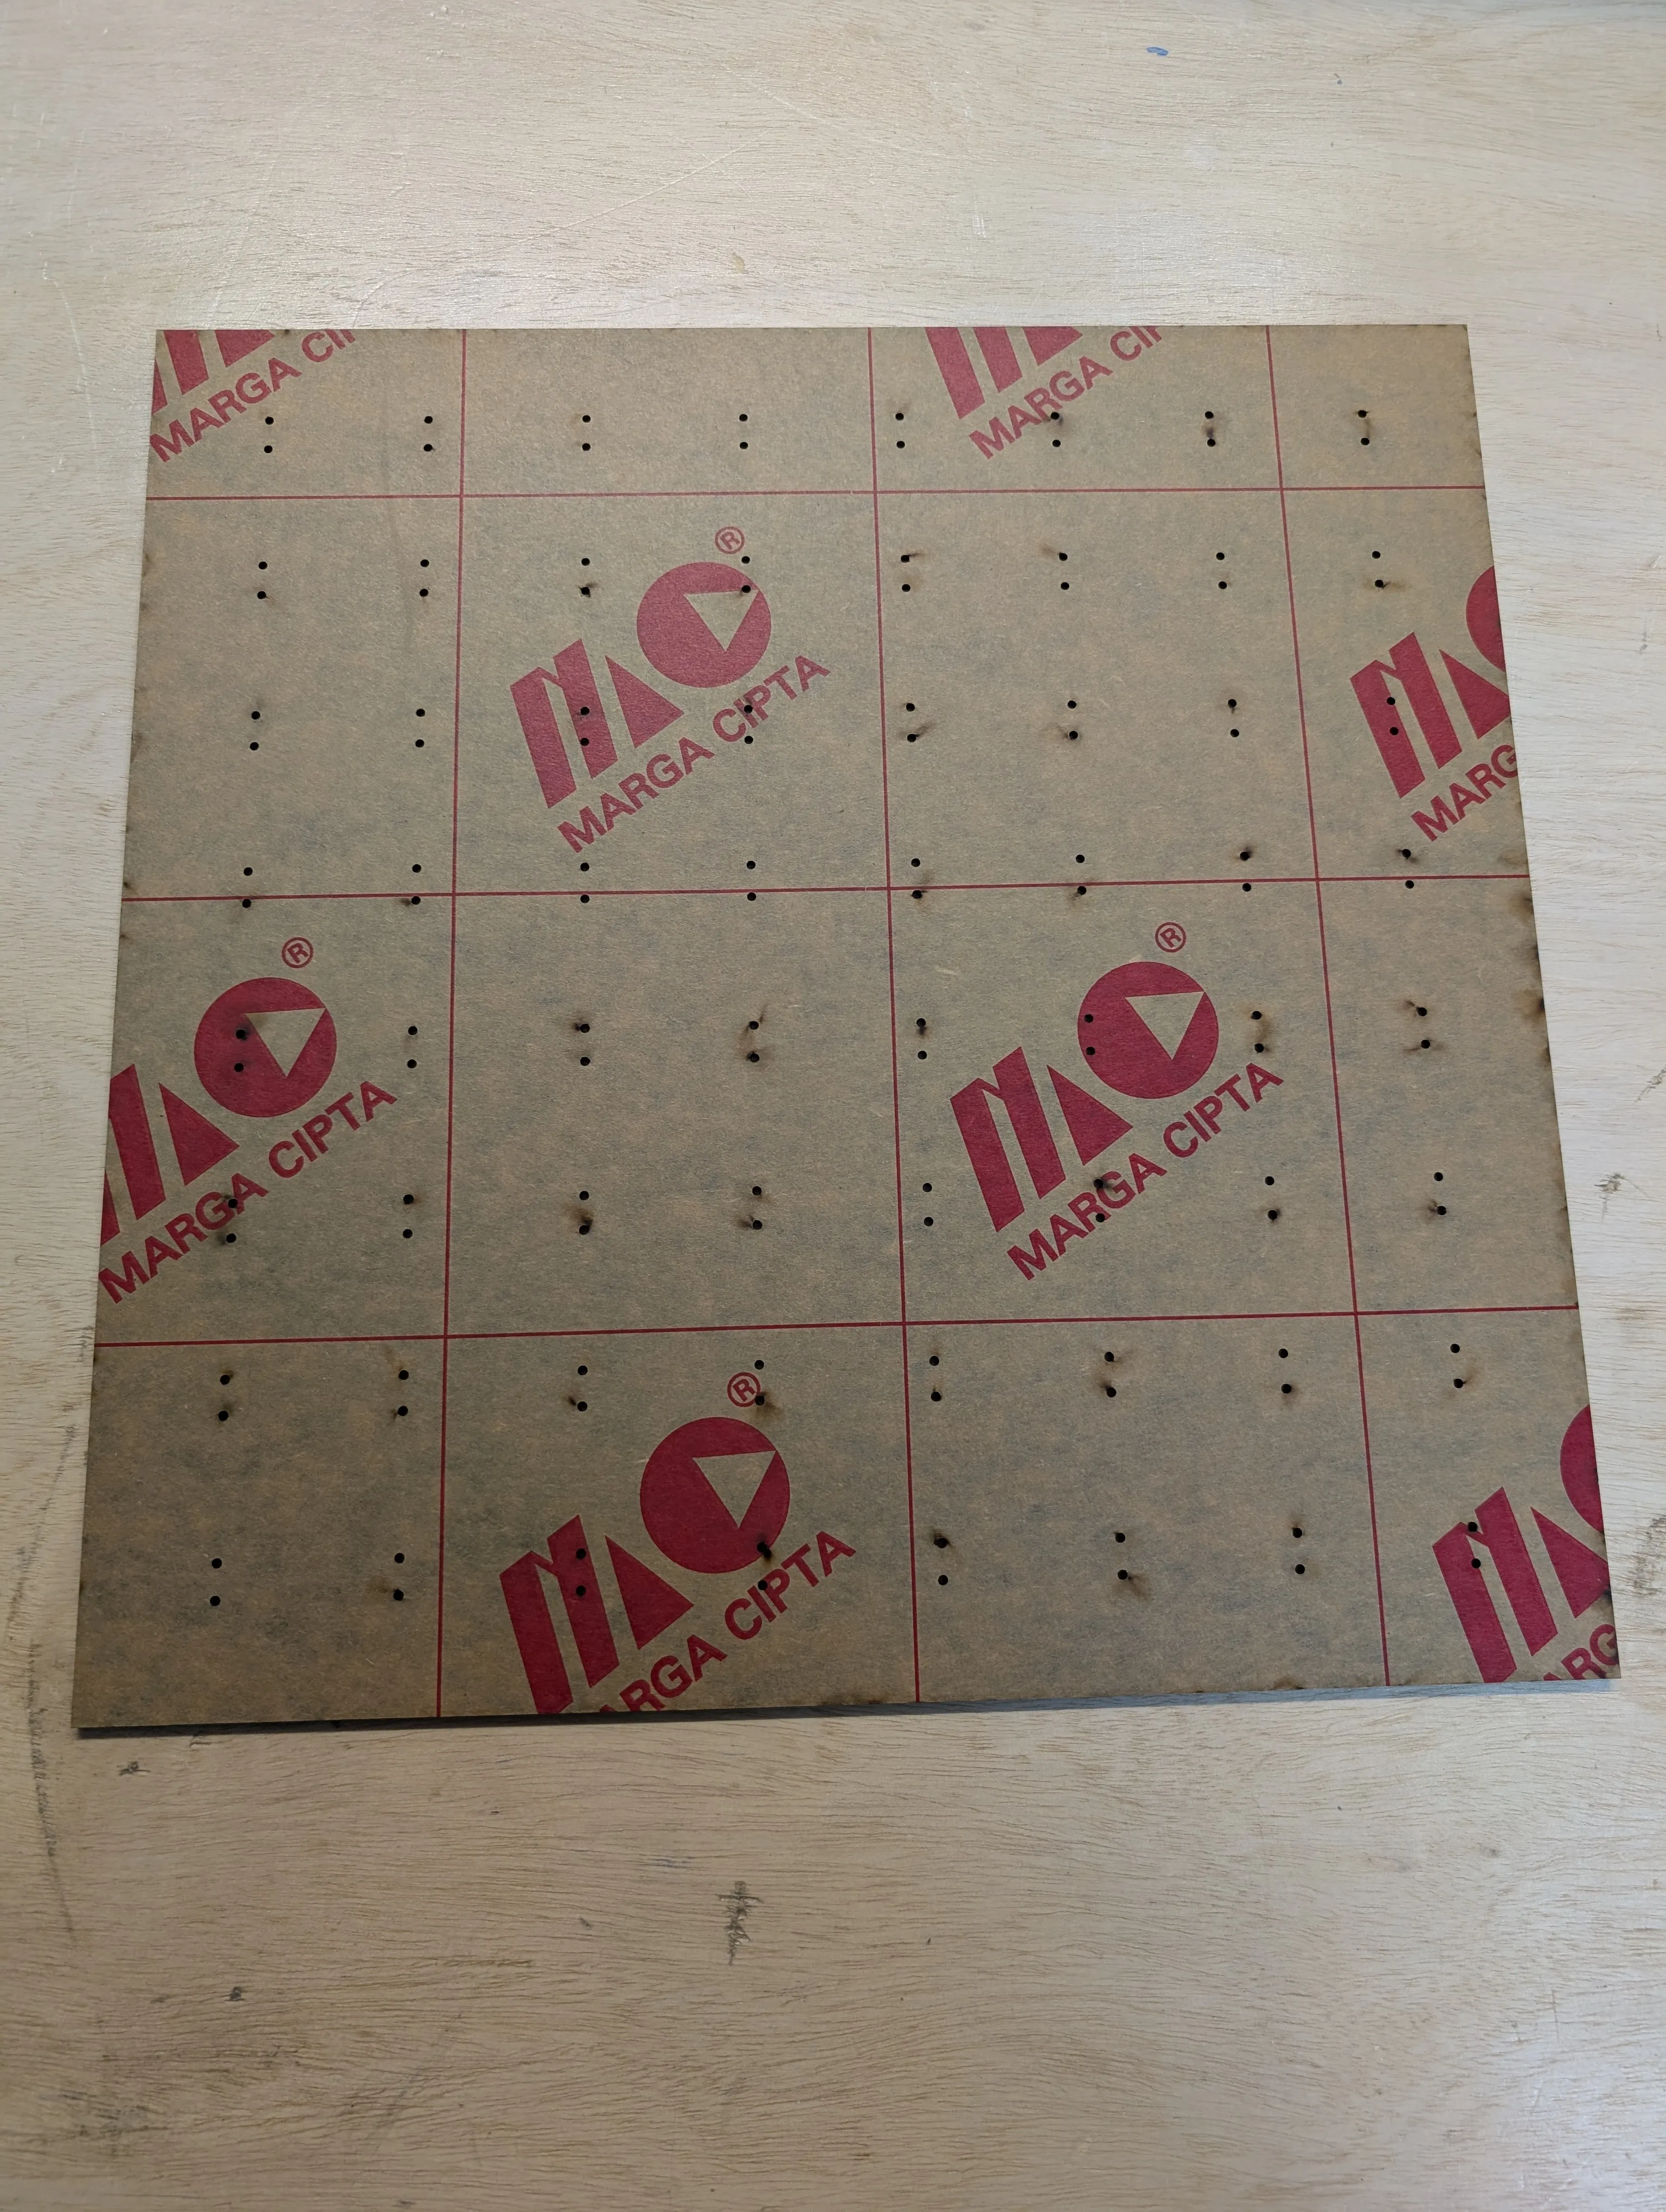
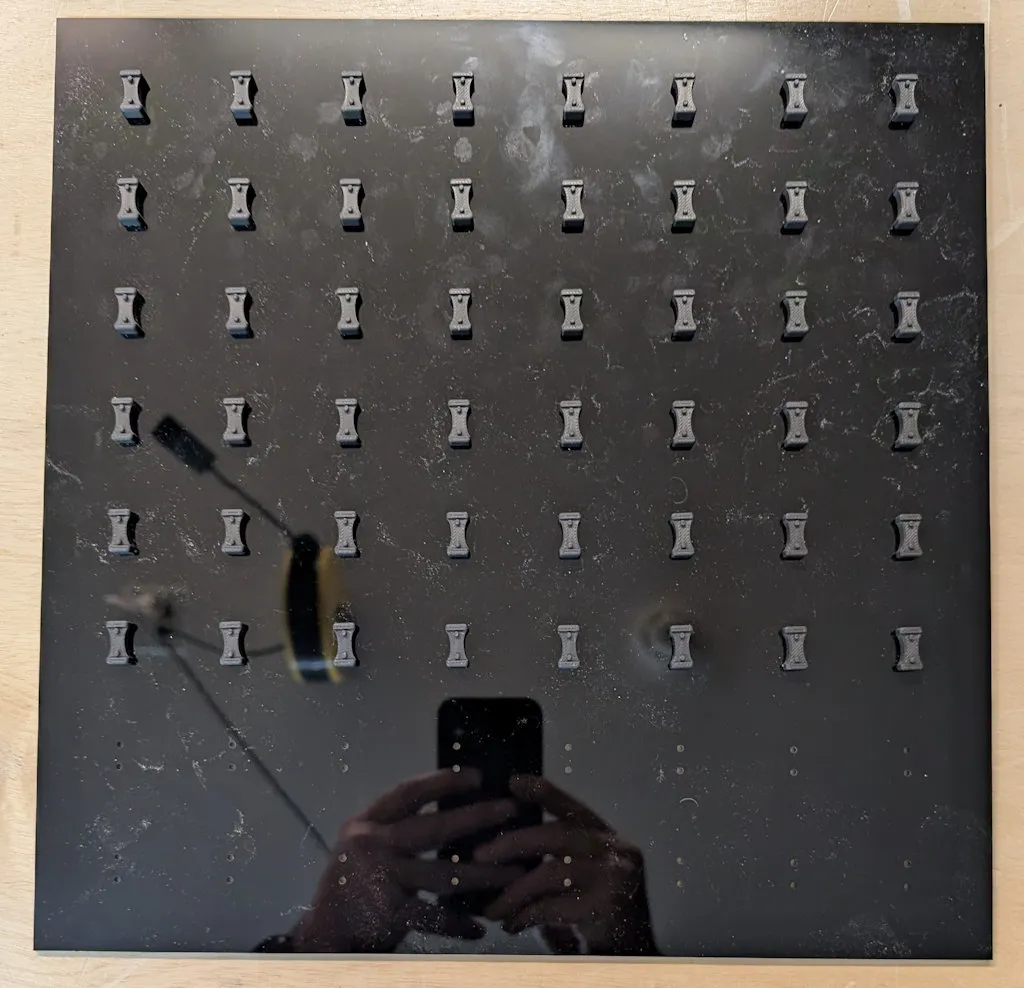
Here's the acrylic panel with a bunch of these components mounted. When I finish the project, I'll show you what the complete project looks like.
Getting the NeoPixel Riser Mount
My colleague published the design on Printables as Neopixel Riser Mount so you can use it in your own projects.
Next Post: FoxAlien Masuter Pro Spindle
Previous Post: USB 3.0 Cable Power Switch
Header image: Photo by Sahand Babali on Unsplash